
Contents
Introduction
First of a, feel free to send corrections of any kind, including text reformulations.
The main objective of this article is teach how to use and understand the scenarios where the TMutexServer and TMutexClient classes should be used. A summary of the properties and methods of each will be discussed below.
What’s the TMutexServer e TMutexClient classes
The TMutexServer and TMutexClient classes are in short a mutex, used to protect exclusive resources and process synchronization. But the main feature of classes TMutexServer and TMutexClient is that they are made to work over network, that is, they are made to synchronize processes that are running in different computers. In this scenario, we need a server, arbitrating who has the access over the resource, and two or more systems running on different computers (or two or more instances of the same application running on one or more stations) that compete for the access to the common resource. The image below illustrates this situation:
(missing picture)
A very important thing to be noted in these components is that they are meant to be called exclusively via code. Therefore, there are no graphical (or easy) ways to protect your resources that need exclusive access.
Finally, to give exclusive access to a resource or to synchronize between several processes that are running different stations, it is necessary to make use of the TMutexClient class in each of the competing applications. Therefore, if an application does not make use of this class, unexpected behavior may occur.
When should I use TMutexServer and TMutexClient classes
It is recommended to use the TMutexServer and TMutexClient classes in the following situations:
- When the integrity of multiple writes should be guaranteed, preventing one application from overwriting the data sent by another.
- When you want exclusive access to a resource (PLC memory area) when certain actions are being performed in an environment with multiple applications.
Where can I find TMutexServer and TMutexClient classes
Both classes are available when the pascalscada.lpk package is installed.
Once this package is installed, two items in the “PascalSCADA utils” palette will be displayed, as shown below:

How configure my application to use TMutexServer and TMutexClient
This configuration is made in two steps, one on the server side and the another on the client side.
Server side:
On the application or service that will arbitrate the sync/resource access a few steps are needed:
- Insert on your project a TMuterServer class instance for each exclusive access resource that you want protect;
- Configure the TCP/IP port that this mutex server will serve the client requests. This number can’t be repeated if multiple instances of the TMutexServer class are inserted and enabled in your application/service. The port number must also be available (can’t be opened by another service/applications) because the TMutexServer class will open it to accept connections. Therefore, modifications to your firewall may be necessary.
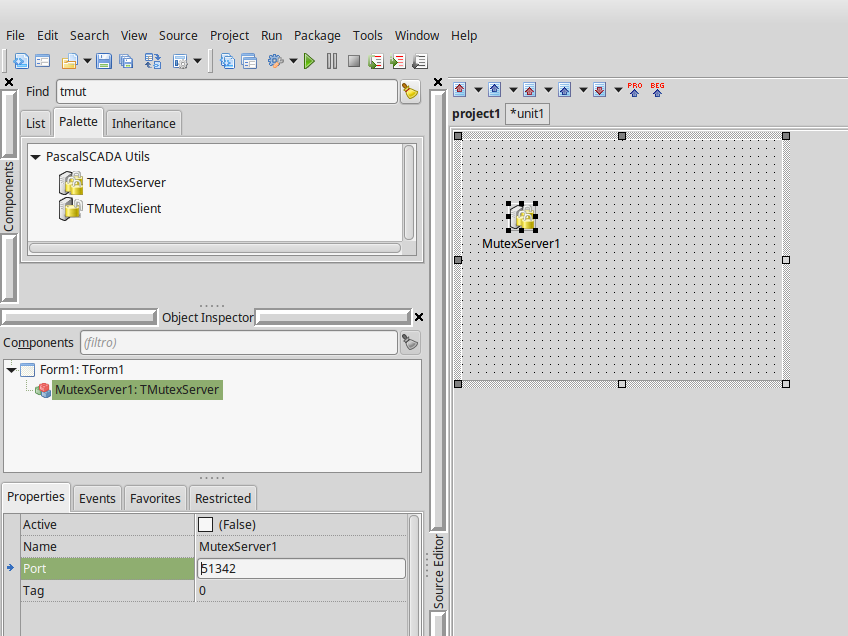
- Activate the Mutex server, changing the property Active to true:
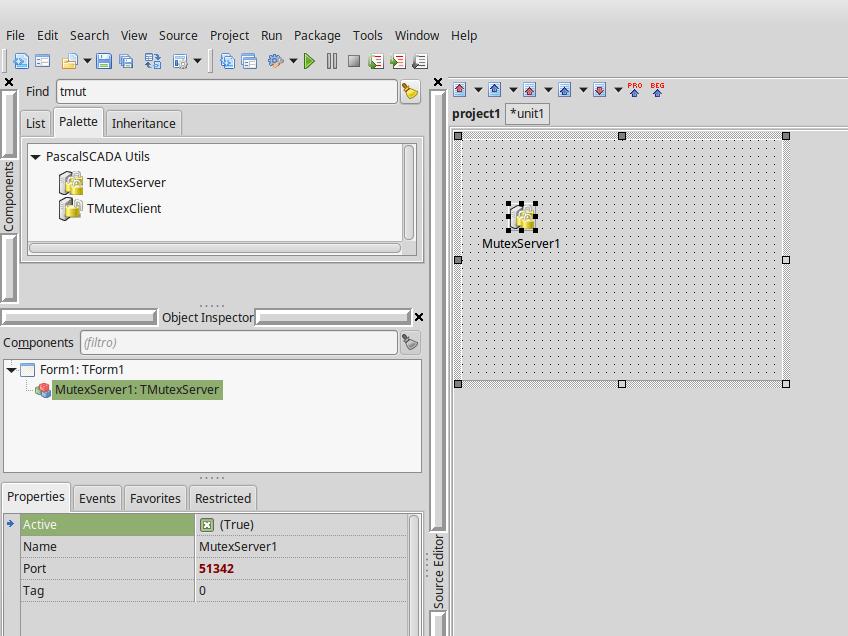
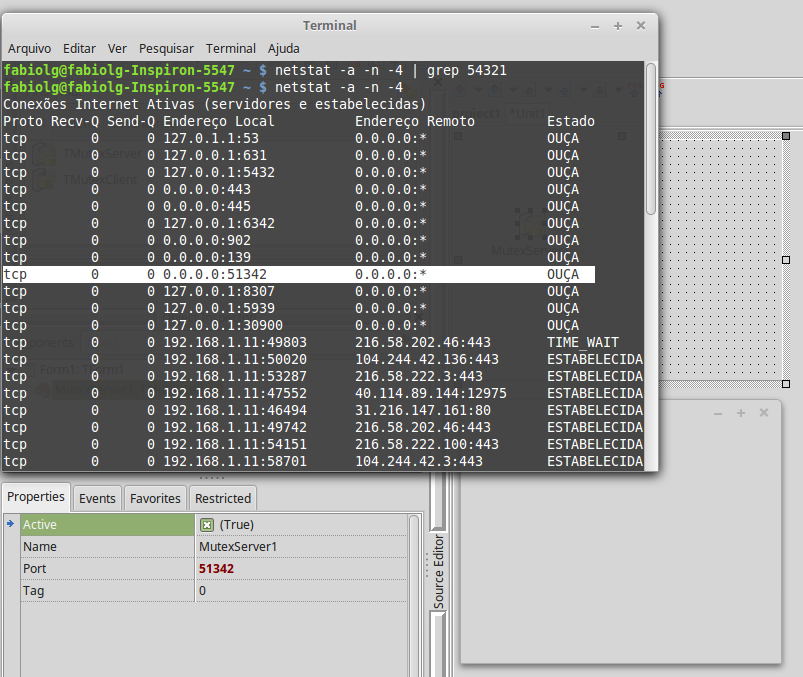
- Start your application/service. If you are doing this on a Windows operating system, the first time that you run the service, the Windows firewall will ask if you allows opening the port. On Unix-like operating systems (and Windows too), simply use the netstat utility to check which ports are open (OUÇA means LISTEN):
On client applications/client side
The configuration of the client applications consists in two basic steps, which are the configuration of the connection to the mutex server and after that, the changes in the source code to verify exclusive access to the resource.
The connection setup of the mutex client is very similar to the setup of the mutex server, being necessary to configure two extra properties: the first setting is the IPv4 address of the mutex server. Warning: Only IPv4 address are accepted! Do not try enter a IPv6 address or a hostname! The second setting that needs to be done is tell what’s the behavior of the Mutex Client if isn’t connected in mutex server. This setting by default, denies the access to the resource when the client has no access to the mutex server. Follow the images below:
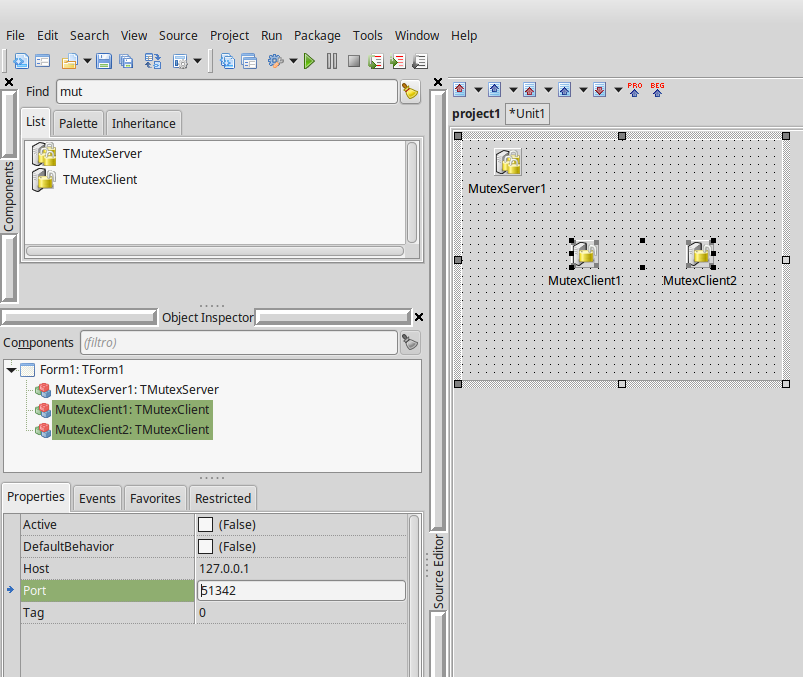
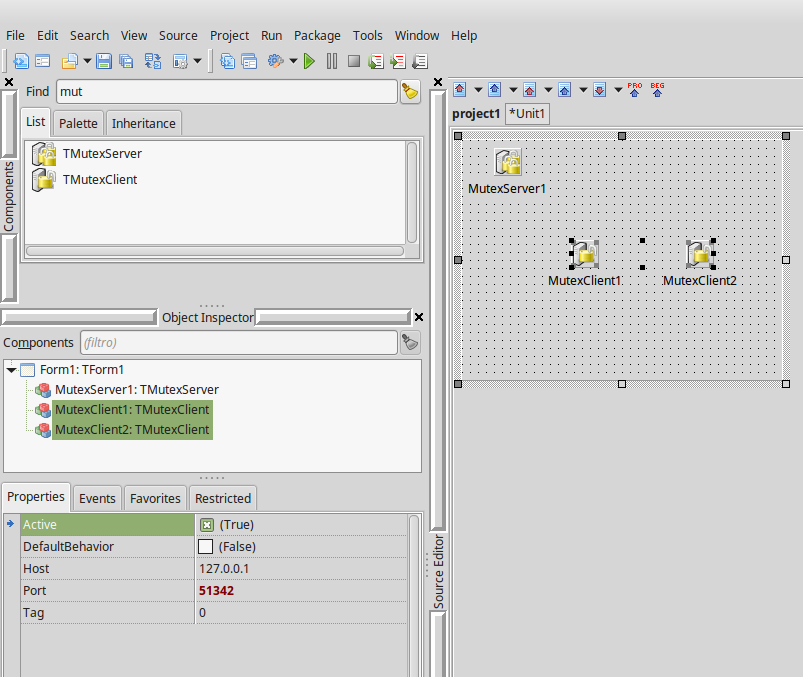
- Insert an instance of the TMutexClient class into your application. In this example, will be inserted two instances of this class, to be possible replicate a race condition.

- Set the address of the mutex clients to the mutex server address, which is who will arbitrate who will have access to the exclusive resource. Remember: only IPv4 is accepted!

- Set the mutex server port for the clients. In our example we kept the default.
- Set the DefaultBehavior property, because it’s define the default behavior when the mutex client is disconnected from the mutex server. The False value in this property will deny access to the resource if the mutex client is disconnected. If this property has a value True and the client is disconnected from the mutex server, an resouce access attempt made at that at the moment that mutex client is offline, will allow the access to the protected resource. Be careful!
- Finally, enable the the clients to connect to the configured mutex server.
- Run the application and verify if connections to the mutex server have been established using netstat utility (ESTABELECIDA means ESTABLISHED)

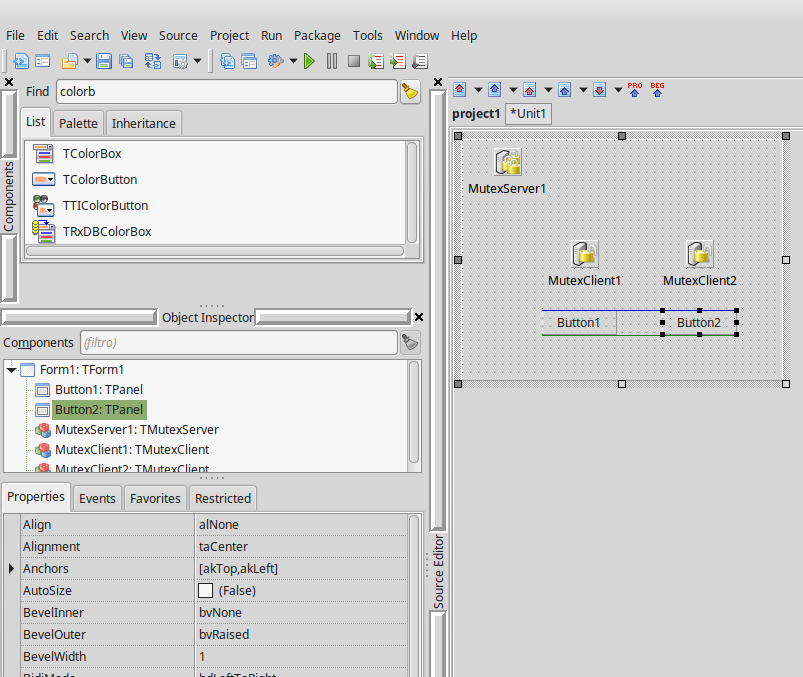
In this example, I’ll add two panels that will act as buttons (yes Panels, for the simple fact that the native button classes do not accept the value of the color property). On the first button click, it will request the resouce to the mutex server and in the next click will Release the resource. If the clicked button gets the access to resource, the button color will change to green, and if button releases the resource, their color backs to silver (or the color default of your theme).
Put this code on the OnClick event of the Button1 button:
procedure TForm1.Button1Click(Sender: TObject);
begin
  if Button1.Color=clLime then begin
    if MutexClient1.Leave then
      Button1.Color:=clDefault;
  end else begin
    if MutexClient1.TryEnter then begin
      Button1.Color:=clLime;
    end;
  end;
end;
Repeat the procedure and insert this code into the OnClick event of the Button2:
procedure TForm1.Button2Click(Sender: TObject);
begin
  if Button2.Color=clLime then begin
    if MutexClient2.Leave then
      Button2.Color:=clDefault;
  end else begin
    if MutexClient2.TryEnter then begin
      Button2.Color:=clLime;
    end;
  end;
end;
The video showing how this example works is below:
How you can see above, the class TMutexClient has two simple functions that request and releases the resource, which are identical to the TCriticalSection class:
- TryEnter: function that returns a boolean value true if access to the resource has been allowed (either by the mutex server or by the DefaultBehavior property) or false otherwise. This function does not return the source of the value (mutex server or DefaultBehavior property).
- TryEnter (out PickedTheDefaultBehavior: Boolean): function that returns a boolean value true if access to the resource has been authorized (either by the mutex server or by the DefaultBehavior property) or false otherwise. This function returns another boolean value, that is true if the result of the function was obtained from the DefaultBehavior property. That is, if the value of the variable passed to the PickedTheDefaultBehavior parameter returns with true, you are disconnected from the mutex server!
- Leave: function that freeds the resource if its mutex client own it. Returns true every time the mutex client has the resource and releases it and false otherwise.
Connection troubles, deadlocks and automatic freed of mutex server
The mutex server is programmed to release the internal mutex, if after a few seconds, the mutex client does not respond to the ping commands. Ping requests are sent every second. After sending, the mutex server waits for one second for the ping response of the mutex client. If a mutex server fails to send or receive a ping, a fault counter is incremented. When this counter reaches a value greater than or equal to 10, the shutdown procedure of this mutex client with problems is initiated and if it owns the mutex, it makes the proper release of it.
On the client side, a lost connection is retrieved every time that a call to the TryEnter or Leave functions are made.
Deadlocks on the mutex server can not be avoided if the client don’t do the proper release the mutex (never call the Leave function), either by mistake in the logic or by the application freeze.
Both the mutex server and the mutex client starts threads to be able to send and respond to ping commands without suffering or causing interference in the main application loop.
Examples
This example is available here:
https://sourceforge.net/p/pascalscada/code/HEAD/tree/trunk/examples/laz_networkmutex/
Another more complex example:
https://sourceforge.net/p/pascalscada/code/HEAD/tree/trunk/examples/both_networkmutex/